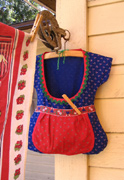
i got this idea way back when i pulled out this apron bonnet (which i did have on inside out, but since then i’ve finally figured out how to wear an apron bonnet). i got to thinking about bonnets, and rain bonnets (remember those clear plastic ones you could buy in the gumball machines for a quarter?) and apron-bonnets, and wouldn’t a waterproof oilcloth apron bonnet be useful for working in the yard when it’s drizzling, or for collecting muddy stuff from the garden. then you can just hose it off!
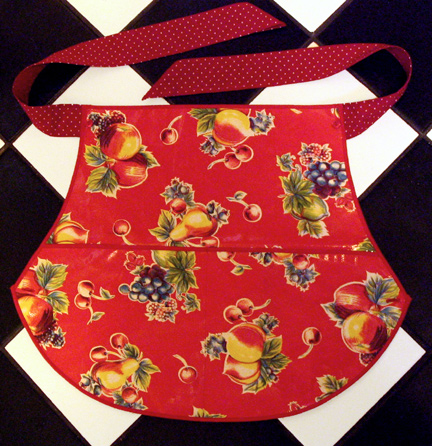
we’ve been getting a ton of rain here this week, with more still on the way. i thought it would be a good time to make an oilcloth apron bonnet.

i was too wimpy to actually go outside to take the picture, it’s really pouring out! by the kitchen window was close enough for me!
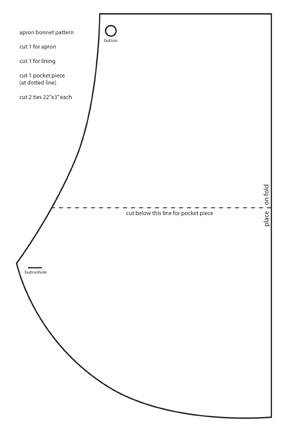
i copied the pattern from the original apron bonnet. click on the picture to download the actual size pattern.
make sure to print it out actual size (100%) it should print out on multiple pieces of paper that you will need to tape together
i lined it with polkadot fabric because the back of the oilcloth was kind of scratchy and not very pretty, but the original cloth apron was only one layer plus the pocket.
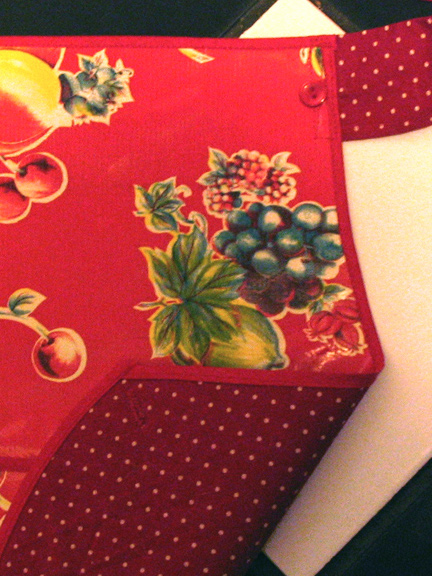
you will need:
2 1/2 yards of 1/4″ double fold bias binding
1/2 yard of oilcloth
1/2 – 3/4 yard fabric for lining and ties-it depends on how wide your fabric is. if your fabric is over 44″ wide, 1/2 yard is enough
thread
2 buttons
i highly recommend using a teflon foot for sewing oilcloth, it’s a zillion times easier.
1) cut pieces. place lining and apron together (wrong sides together) stitch around edge, 1/8″ from edge so stitching will be covered up by the binding.
2) sew bias binding to top edge of apron pocket. place pocket on top of apron and stitch around sides and bottom (1/8″ again) and stitch up the center to divide into 2 pockets. to find the center i folded the pocket in half and made a crease before stitching on to apron, then i stitched along the crease.
3) sew bias binding all the way around the apron.
4) hem ties (1/2″ seam allowance) turn edge under 1/4″, then 1/4″ again then stitch to make a nice clean hem. to make them triangular at the end like i did, fold one corner over to the edge and tack.
5) attach ties to sides of apron top.
6) sew on the buttons and make button holes.
to make it into a bonnet, slip the buttonhole over the button and fold the extra material up into the bonnet where your ear would be. use the pocket edge as a guide where to fold to make it nice and neat. the oilcloth holds the shape really well. see, i finally figured it out!
